Tiling is a popular choice for both residential and commercial spaces. Whether you’re looking to update your kitchen backsplash or install new flooring in your bathroom, tile installation can add a beautiful and durable touch to any space. However, before diving into a tiling project, it’s important to consider the cost.
How Much Does Tile Installation Cost?
Several factors can impact the cost of tile installation, including:
- Type of tile: The cost of the tile itself can vary greatly depending on the material and quality.
- Size of the area: The larger the area that needs to be tiled, the higher the installation cost will be.
- Preparation work: If the surface needs to be leveled or repaired before installation, this can increase the overall cost.
- Labor costs: The cost of installation can vary depending on the experience and expertise of the installer.
- Location: The cost of installation can vary depending on the location and accessibility of the area to be tiled.
- The complexity of the job: If the installation requires intricate designs or patterns, this can also increase the cost.
- Additional materials: Grout, mortar and other supplies may be needed, which can add to the overall cost.

How To Install Tile Floor?
Installing tile floors can be a DIY project, but it requires patience, attention to detail, and some basic tools. Here are the steps involved in installing tile floors:
- Prepare the surface: Ensure that the subfloor is clean, level, and free of any debris or adhesive residue.
- Plan the layout: Measure the area to be tiled and plan the layout, taking into account any patterns or designs.
- Mix the mortar: Follow the instructions on the mortar bag to mix the correct consistency.
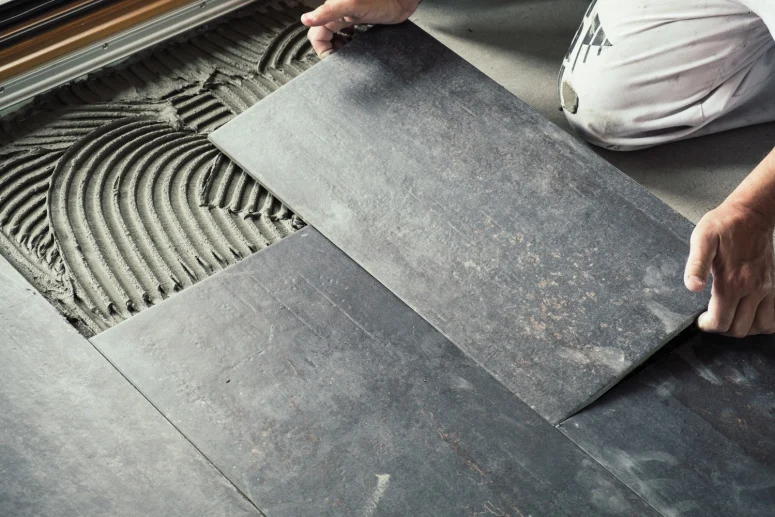
- Apply the mortar: Spread the mortar evenly on a small section of the floor using a notched trowel.
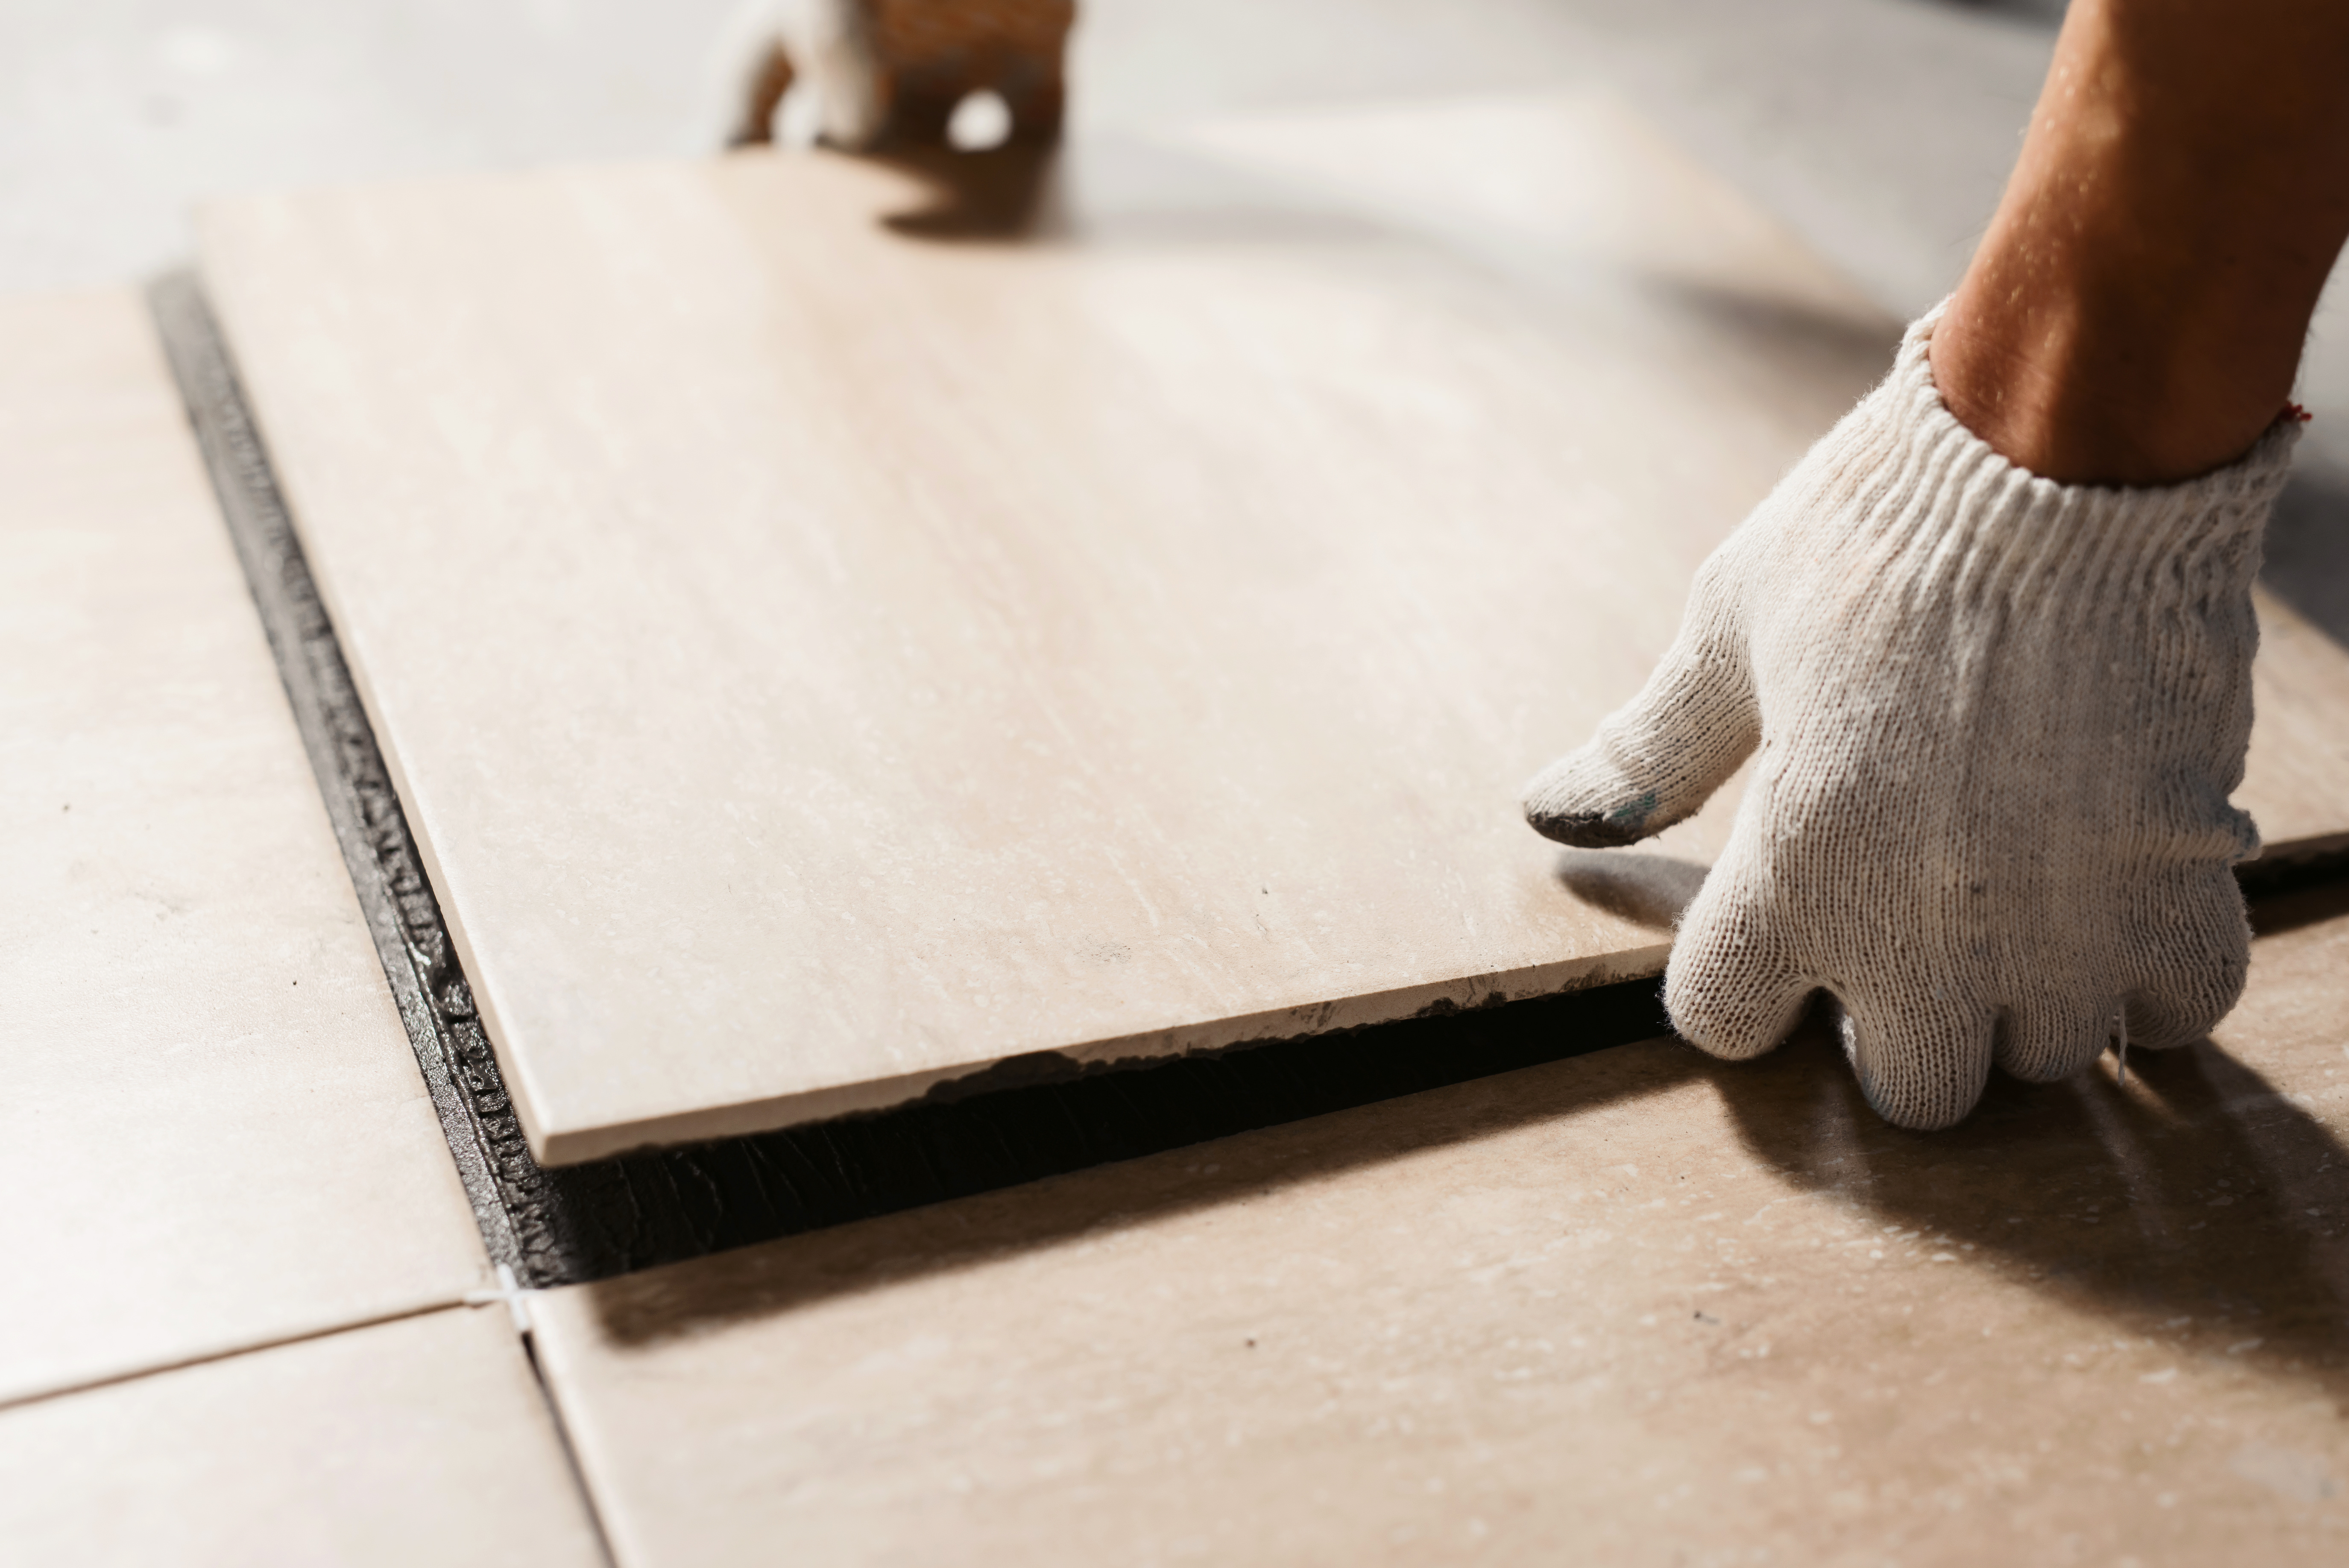
- Place the tiles: Place each tile in the mortar, using spacers to ensure even spacing.
- Cut tiles: Use a tile cutter or wet saw to cut tiles to fit around the edges of the room or around obstacles.
- Grout the tiles: Once the mortar has dried, fill the gaps between the tiles with grout using a grout float.
- Clean up: Wipe away any excess grout and allow the grout to dry before walking on the floor.
How to Clean Tile After Installation?
After tile installation, a white haze of grout residue can appear on the tile surface. While it’s the tiler’s job to remove it if you’re doing the tiling yourself or there’s still residue after the tiler has left, follow these steps. Remove the haze immediately after laying the tiles, but wait until the grout has cured. If it has already dried, you can still remove it with elbow grease. Dampen a few tiles with warm water and use a nylon scrubbing pad to scrub gently. Apply more pressure if necessary. Dry and buff with a dry terry cloth towel, repeating the process across the tile surface.
Tile installation Long Grove is a complex job that requires patience and attention to detail. It is worth the cost, though, and can significantly enhance the beauty of any space. Working on the project yourself can be challenging, which is why it’s best to leave it to professionals if you’re not 100% sure what to do.